

How to Edge Concrete Like a Pro: A Step-by-Step Guide with Magnetic Chamfer Strips
Concrete edges might seem like a small detail, but they make a huge difference in durability, safety, and aesthetics. Sharp 90-degree corners on fresh concrete are prone to chipping, cracking, or even causing injuries. That’s where chamfering comes in—a technique that creates a smooth, angled edge. And when it comes to achieving that perfect edge, magnetic chamfer strips are a game-changer. Let’s break down how to use them, their types, and why they’re better than traditional tools.
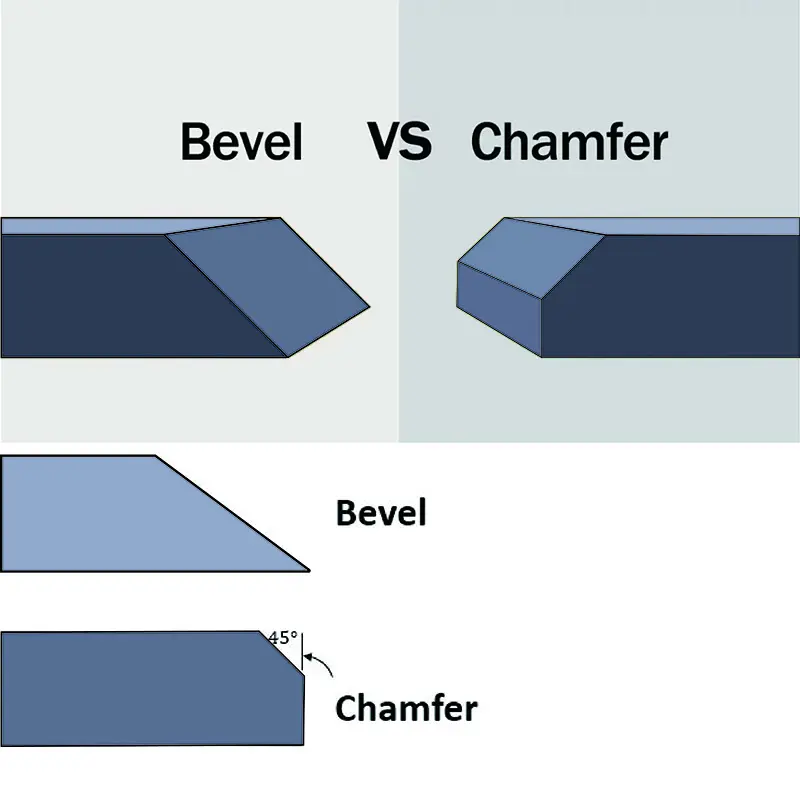
Why Chamfer Concrete Edges?
Chamfering is more than just a finishing touch. Here’s why it matters:
- Prevents Damage: Angled edges resist chipping from weather, foot traffic, or machinery.
- Improves Safety: Rounded edges reduce tripping hazards, especially on sidewalks or patios.
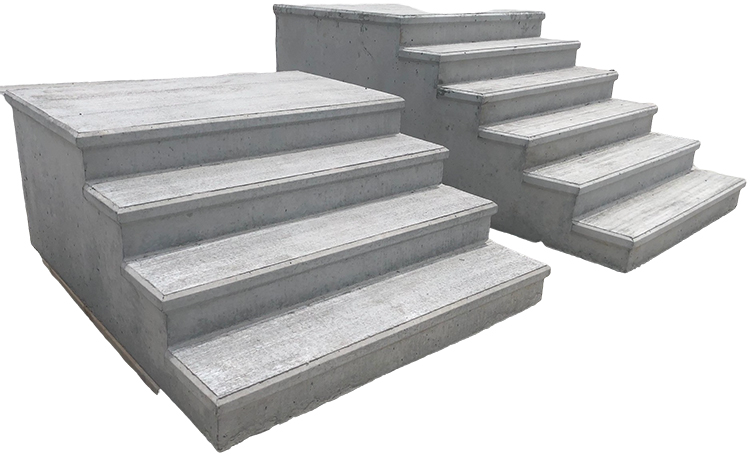
- Boosts Appearance: Clean, professional edges elevate the look of driveways, countertops, or decorative concrete.
- Simplifies Formwork Removal: Chamfered edges prevent concrete from sticking to molds, making cleanup easier.
Magnetic Chamfer Strips: Types and Features
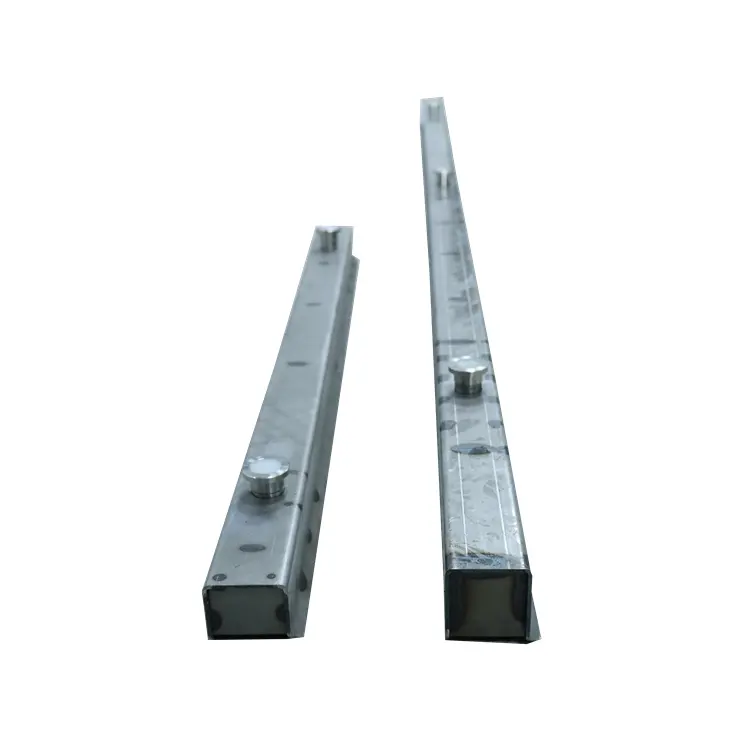
Magnetic chamfer strips attach to steel forms using built-in magnets, creating precise edges as the concrete sets. Unlike plastic or PVC versions, they’re reusable and leave no residue. Here are the three main types from the guide:
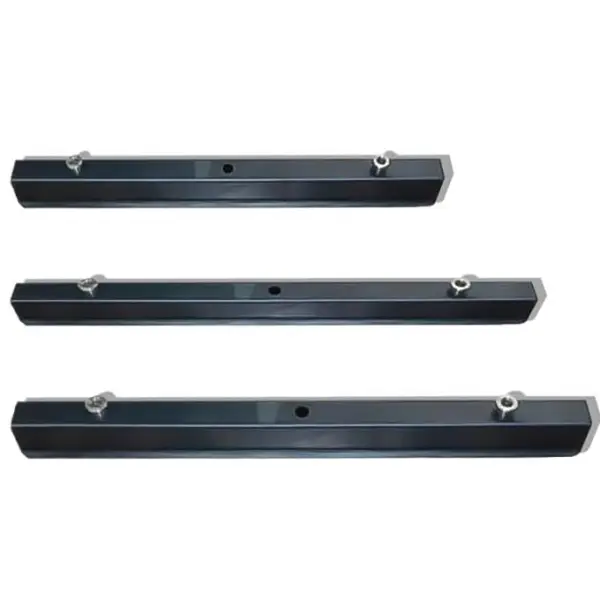
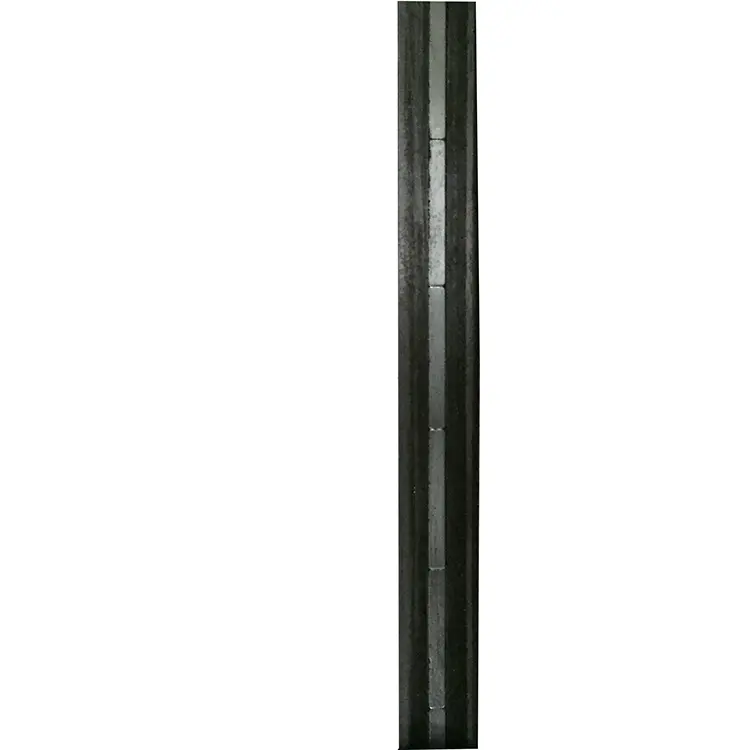
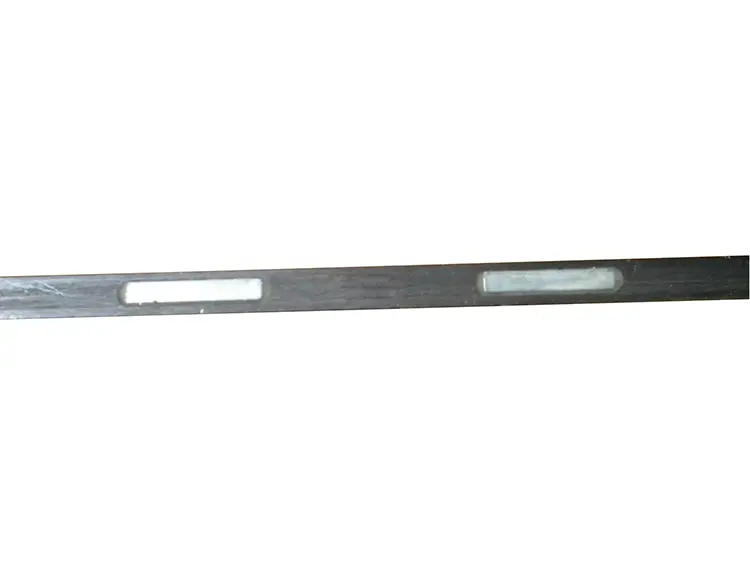
1. Magnetic Steel Chamfer Strips
- Material: Triangular-shaped steel strips with strong magnets.
- Best For: Heavy-duty projects like sidewalks, driveways, or industrial slabs.
-
Benefits:
- Adds structural strength to edges.
- Creates subtle shadow lines for a polished look.
- Easy installation—just press onto steel forms.
2. Magnetic Urethane Chamfer Strips
- Material: Flexible urethane with magnetic backing.
- Best For: Curved edges or small projects like ceramic tiles, garden pavers, or DIY crafts.
-
- Bends easily around tight curves.
- Lightweight and weather-resistant.Benefits:
- No rust or corrosion.
3. PVC Chamfer Strips
- Material: Flexible PVC (non-magnetic).
- Best For: Large precast concrete pieces or projects where steel forms aren’t used.
-
Benefits:
- Rust-proof and durable in all weather.
- Presses directly into wet concrete without adhesives.
- Affordable for one-time use.
How to Chamfer Concrete with Magnetic Strips
Tools Needed: Steel forms, magnetic chamfer strips, level, trowel.
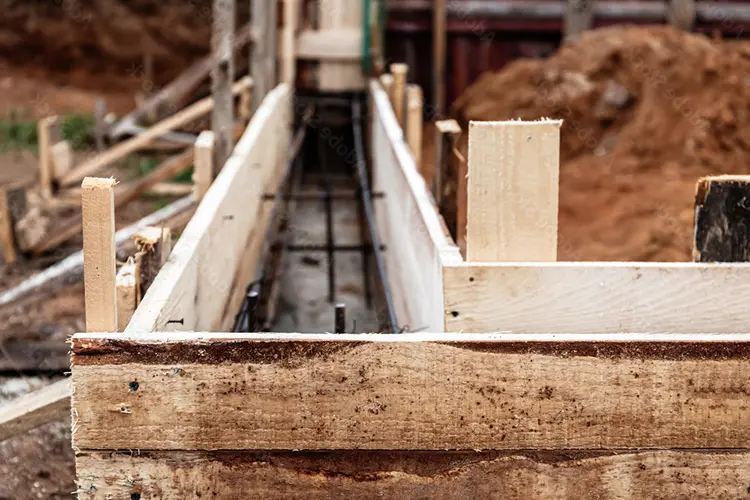
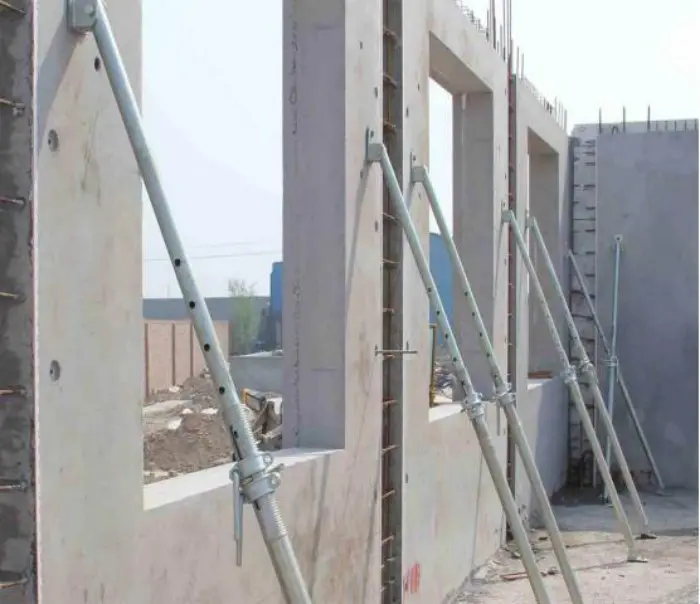
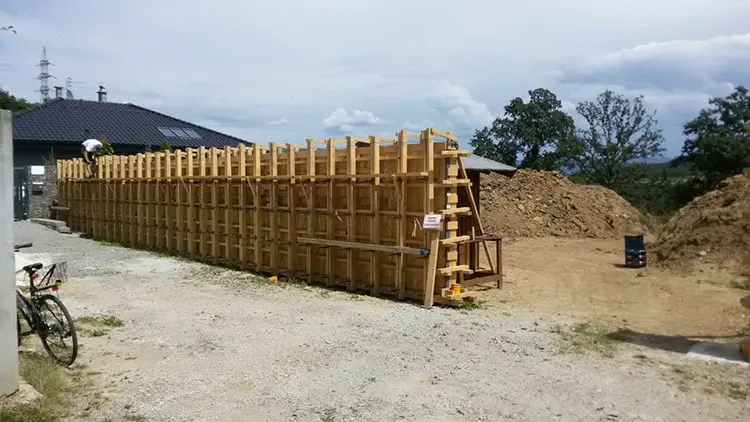
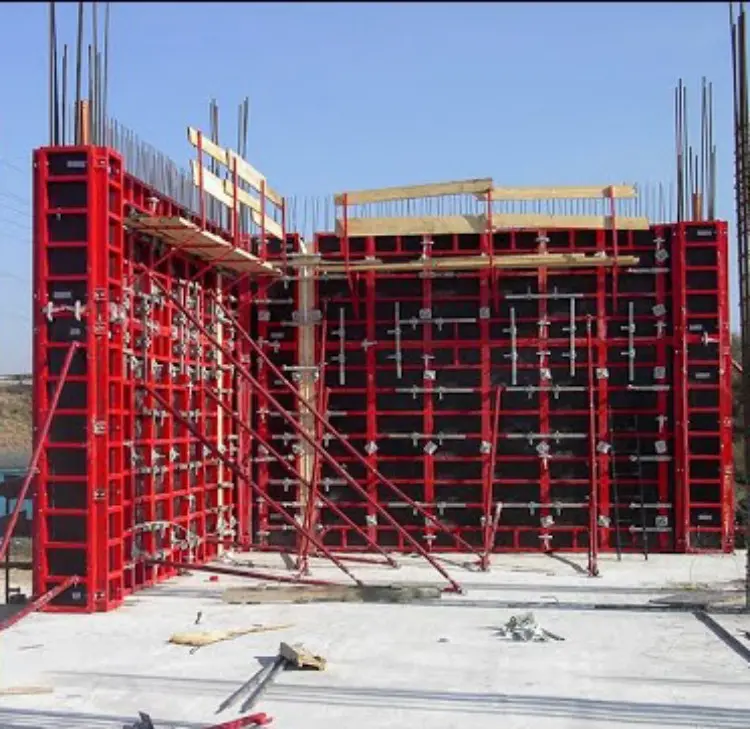
Step 1: Prep the Forms
- Use steel forms(magnets won’t stick to wood or plastic).
- Clean forms with a wire brush to remove rust or debris.
Step 2: Attach the Magnetic Strips
- Press the magnetic side of the strip firmly against the form’s edge.
- For curves: Use flexible urethane strips or small steel segments.
- Check alignment with a level—wonky strips lead to uneven edges!
Step 3: Pour and Finish the Concrete
- Pour concrete into the forms and vibrate gently to remove air bubbles.
- Smooth the surface with a trowel, avoiding the chamfer strip.
Step 4: Remove the Strips
- Let the concrete cure for 12–24 hours.
- Peel the strip away—no prying or hammering required!
Step 5: Post-Chamfering Tips
- Clean the Strips: Rinse steel or urethane strips with water and dry them to prevent rust.
- Store Properly: Keep strips flat in a dry place to avoid warping.
- Reuse for Future Projects: Magnetic strips can last years with proper care.
Magnetic Chamfer Strips vs. Other Tools
Let’s compare magnetic strips to traditional chamfering methods:
|
Tool |
Pros |
Cons |
|
Magnetic Steel Strips |
Reusable, durable, precise edges. |
Requires steel forms. |
|
Magnetic Urethane |
Flexible for curves, no rust. |
Less durable for heavy-duty use. |
|
PVC Strips |
Affordable, works with any form. |
Not reusable, may warp over time. |
|
Hand Edgers |
Portable, no forms needed. |
Requires skill, uneven results. |
Why Magnetic Strips Win: They’re fast, reusable, and produce factory-quality edges without damaging forms.
Common Problems (and Fixes)
1.“The Strip Won’t Stick!”
○ Cause: Dirty or rusty forms weaken the magnet.
○ Fix: Scrub forms with a wire brush and wipe dry.
2.“My Chamfer Looks Wavy”
○ Cause: Strips weren’t pressed flat or aligned.
○ Fix: Use clamps to secure strips while pouring.
3.“Concrete Stuck to the Strip”
○ Cause: Forgot to apply form-release oil.
○ Fix: Spray a light coat of oil on the strip before pouring.
4.“Rust on Steel Strips”
○ Cause: Stored in damp conditions.
○ Fix: Coat strips with WD-40 or silicone spray after washing.
When to Use Each Type of Chamfer Strip
- Magnetic Steel: Driveways, sidewalks, industrial slabs.
- Magnetic Urethane: Curved garden paths, DIY crafts, tile edges.
- PVC Strips: One-time projects like DIY stepping stones or small repairs.
Fun Project Idea: DIY Chamfered Garden Stepping Stones
Put your skills to the test with this easy project:
1 Supplies:
○ Small steel form (e.g., cake pan or custom mold).
○ Magnetic urethane chamfer strip.
○ Quick-set concrete mix.
2 Steps:
○ Line the form’s edge with the urethane strip.
○ Mix and pour concrete; smooth the surface.
○ Remove the strip after 4 hours.
○ Paint or seal the stone for a personalized touch!
Final Thoughts
Chamfering concrete isn’t just for pros—anyone can master it with the right tools. Magnetic chamfer strips take the guesswork out of edging, whether you’re building a patio or crafting garden decor. Remember:
- Steel strips= Heavy-duty, straight edges.
- Urethane strips= Curves and creativity.
- Clean and prep= Perfect results every time.
Now go grab those strips and turn rough edges into sleek, professional finishes!